A police scanner or radio frequency scanner is a device that allows people to communicate in a specific area. The device can track waves in a given locality, just like a radio.
Radio scanners are commonly used for emergency services, although people now often use them just for fun or for in their car.
Using a police scanner is not complicated. The only somewhat difficult part is programming the device. This guide will tell you how to use a police scanner.
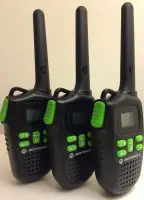
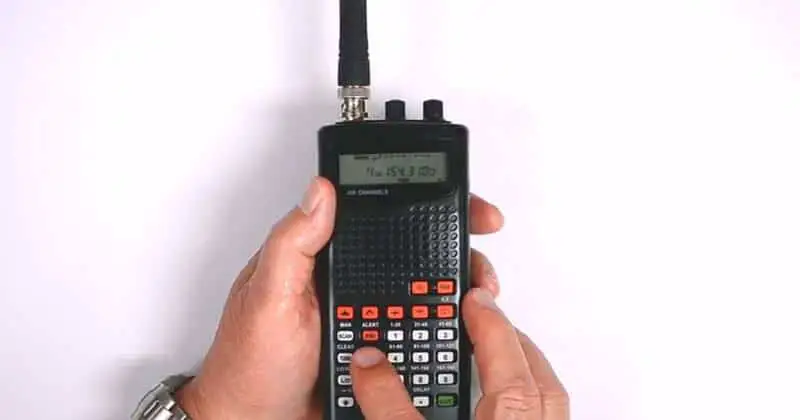
There are two main types of scanners; the base model and its handheld alternative. Here’s two examples of popular options of each type:
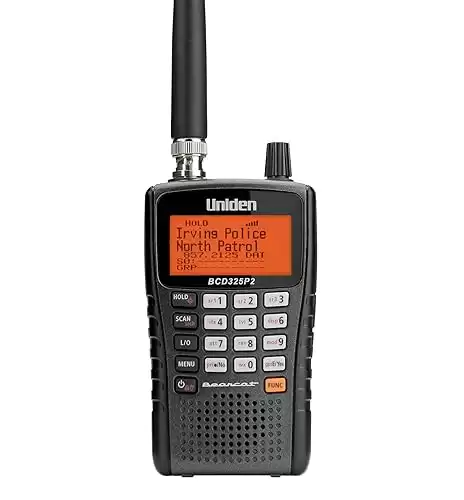
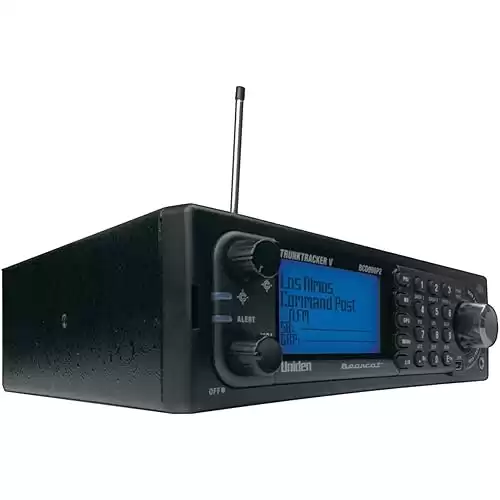
Table of Contents
How to Use the Base Model
1. Connect the Scanner to its Antenna
You can also use an external antenna. Then, plug in the scanner and turn it on. You will hear unclear noises because it is not connected to any frequencies yet.
2. Find Local Frequencies
Once your police scanner is connected, you will need to find local frequencies. These can be obtained from various sources. For example, you can find a list of frequencies at the location where you bought the police scanner. Another simple solution would be to go to www.radioreference.com. Here, you can search for frequencies in your state or metro area. The internet can also point you to the frequency of a local hobbyist group.
You can also use the preassigned bands on your scanner. Most police radio scanners come with a list of popular frequencies in your locality such as the police and fire department. These can be accessed by pressing the “band” button on your device. In other devices, you will need to press the “mode” button.

Popular frequencies can also be obtained from the National Radio Data. It lists frequencies in major cities.
3. Program the Police Scanner
Your scanner has a programming button that is usually labeled as “prog.” If you can’t find it on your scanner, you should refer to the user manual. This button should be pressed until the screen of your scanner reads “CH.” Once you see these letters blinking on your screen, you can release the program button.
Then, you will need to choose a channel for your frequency. This is supposed to help you access your saved frequencies faster in the future. For example, you can save the fire frequency under the fire department channel.
4. Enter the Frequency
The frequency numbers you noted down can now be entered and saved in your police scanner. Use the dial pad to input the number. Make sure you press the “decimal” button where it is supposed to be. For example, if the frequency is 573.4387, you will press 5, 7,3, decimal, then the rest of the numbers in the order. Then you have to push the “enter”’ button. You can save all your frequencies at this point.
Once you are done, press the program button to exit programming mode.
How to Use the Handheld Model
1. Make Sure it’s Powered

Handheld models can be powered through AC adapters or batteries. If you intend to use the former, plug in your police scanner to the AC adapter. Otherwise, make sure the batteries are fully charged.
2. Connect the Antenna
You can attach a flexible antenna or an external one. This is meant to aid in the reception.
3. Find a List of Frequencies you want to Follow
Just like with the other model, you should find a list of local frequencies you want to follow. List them down so that you can program them into your scanner later.
4. Scan Your Locality for Available Frequencies
Your portable police scanner has a scanning button. Press this button to scan the frequencies in your locality automatically. Some frequencies may not be picked up by your device and will have to be stored manually.
5. Save Frequencies Manually
To store a frequency manually, go to manual mode and press the channel you want to access. Then, you have to press “manual” again and enter the frequency you want to save. The process here is similar to what you did with the base model. You just need to enter the numbers and key in the decimal point. When you are done, you can press enter to save the frequency. The “Enter” button is usually labeled “E” on such devices.
6. Save Duplicate Frequencies in Different Channels
If the frequency has been saved before, the police scanner will notify you by making a beeping sound. Otherwise, the screen of your device will flash to show that the frequency has been saved successfully in the given channel.
If you have already saved the frequency in a different channel, you can still choose to save it in a new one. Simply press the “E” button again. If you want to cancel the entire process and start saving a new frequency, you can press the asterisks button.
7. Return to Scanning Mode

Finally, press the scan button to go back to scanning mode. It is important always to keep the keypad locked since you might accidentally erase a frequency. It is worth noting that manufacturers of police scanners use different names for their keys.
ZIP Code Based Scanning
Some police scanners also have a ZIP Code based scanning feature. To use ZIP Code scanning you only need to follow these steps:
1. Enter the ZIP Code
The ZIP Code you enter will work as the center point of your radius. Of course, you will need to enter the radius you want to cover in miles.
2. Scan the Given Radius
With ZIP Code based scanning, you don’t need to carry out any programming; the frequencies will be scanned automatically. Any unavailable services will be grayed out.
You May Also Like:
Conclusion
Police scanners are great devices for hobbyists and specialized departments. They are used by auto race fans, aviation enthusiasts, and reporters. Many hobbyists groups even have an internet presence. Learning how to use a police scanner will allow you to enjoy being part of these conversations. Even in 2021, a police scanner be both handy and interesting to use, and is a worthy investment!
Using a police scanner is simple. All you need to know is how to program the device and save popular and important channels. The basic concept is the same, whether you own a base scanner or a handheld model. We hope our guide helped you set-up and maximize use of your scanner!